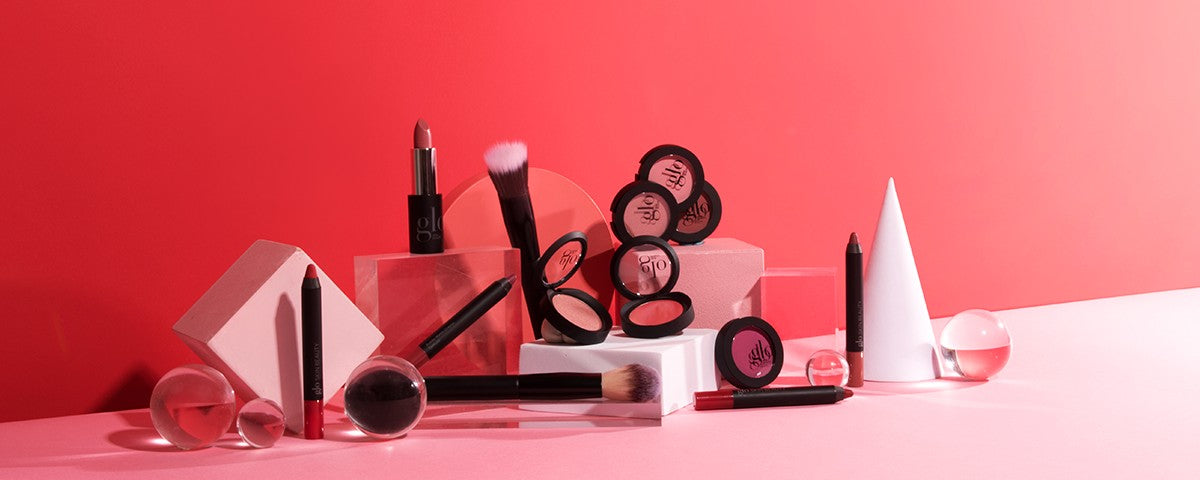
It's something we apply almost every day, yet for some of us, we still just haven't quite mastered the perfect blush application. Finding a blush that works with your skin tone, texture, and then how to apply your blush by face shape, can be a challenge. We say, challenge accepted. Our Global Artistry Lead Janeena Rumsey is here to share all her top tips and hacks to get your blush placement on-point.
Start With Skin
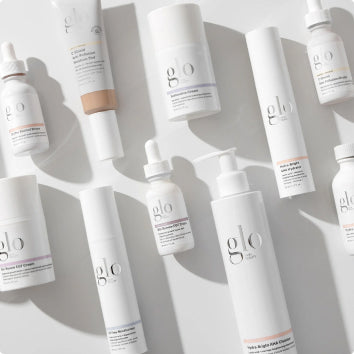
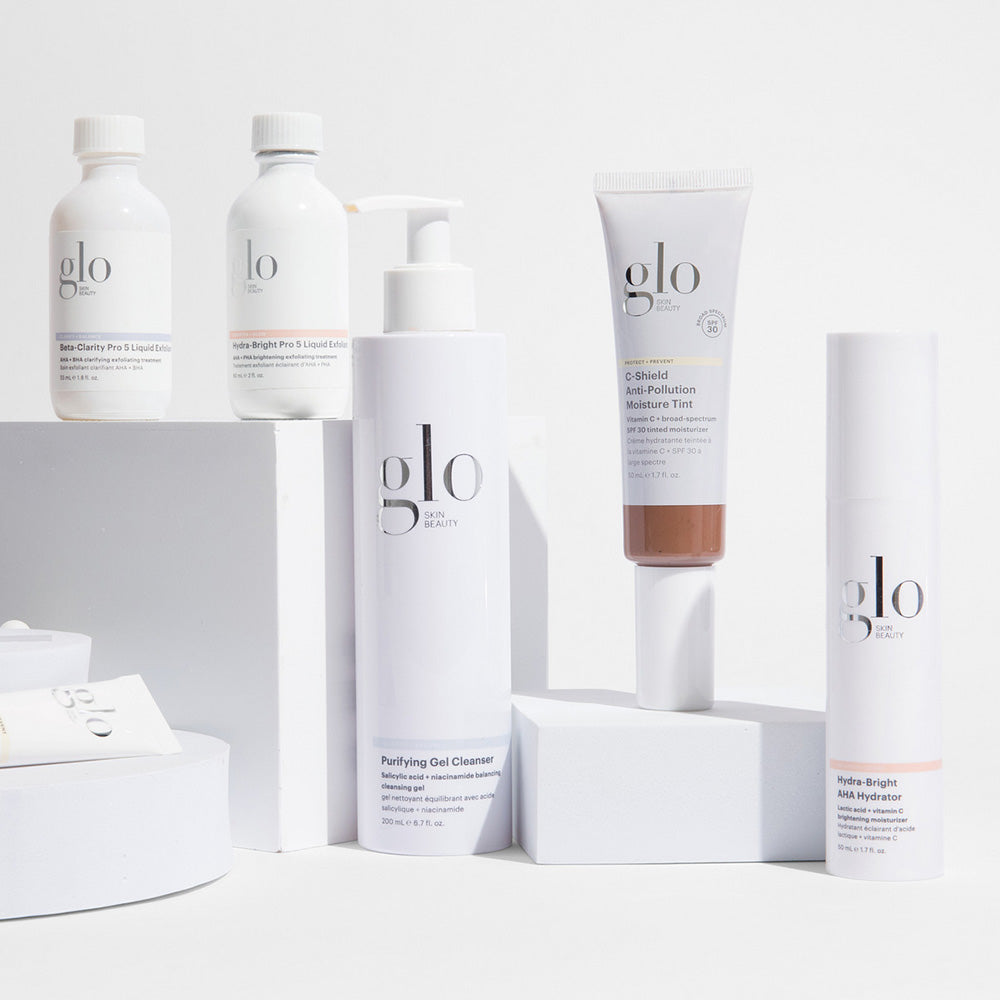
First up (and we can't say this enough), make sure your skin is prepped. If you have dry skin, powder blush can accentuate dry patches, so ensure you have a good hyaluronic acid serum in your skincare kit paired with a vitamin C serum. Make sure you exfoliate regularly. You can't go wrong with our Hydra-Bright Pro 5 Liquid Exfoliant for this. Finish with a nourishing moisturizer and SPF.
If you have combination or oily skin, you'll want to clarify and balance your skin before makeup application. Start with a purifying cleanser, then add Beta-Clarity Pro 5 Liquid Exfoliant, plus an oil-free moisturizer and SPF.
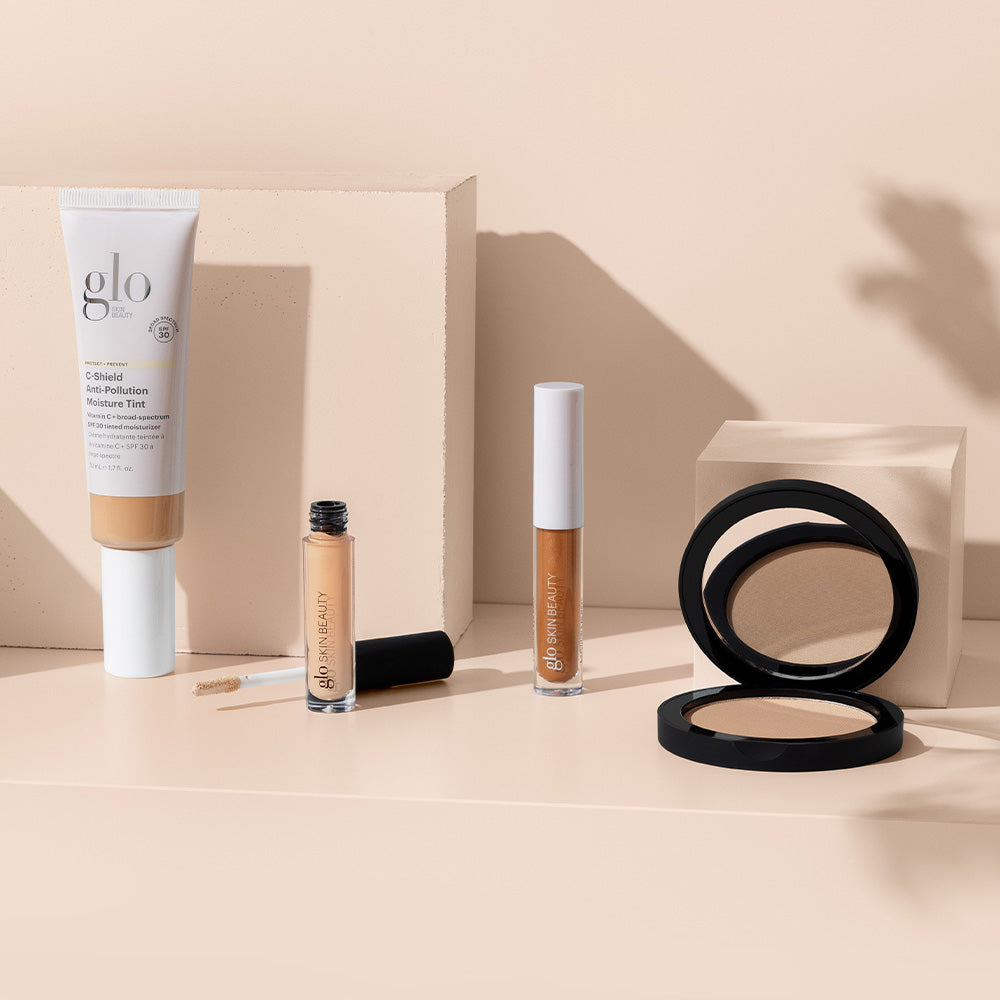
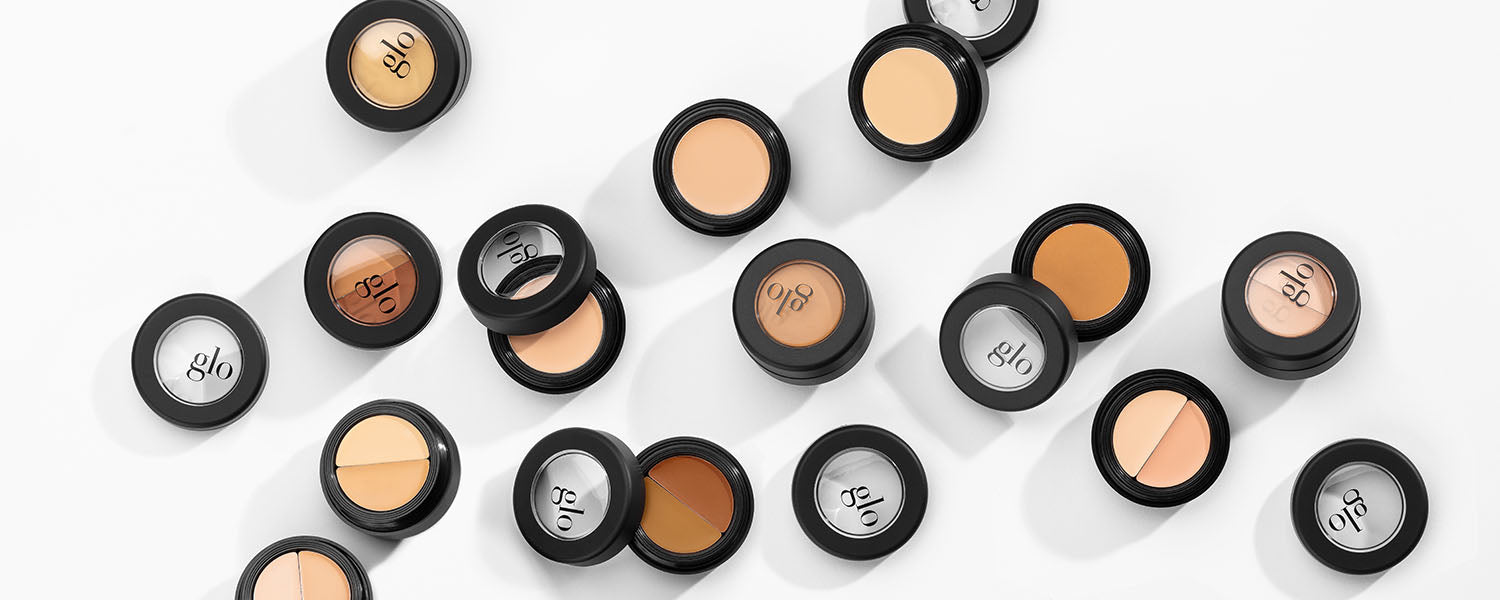
And don't forget to get your foundation and concealer game strong too so you have a great canvas to start layering on your color.
How To Pick the Best Blush Shade For Your Complexion
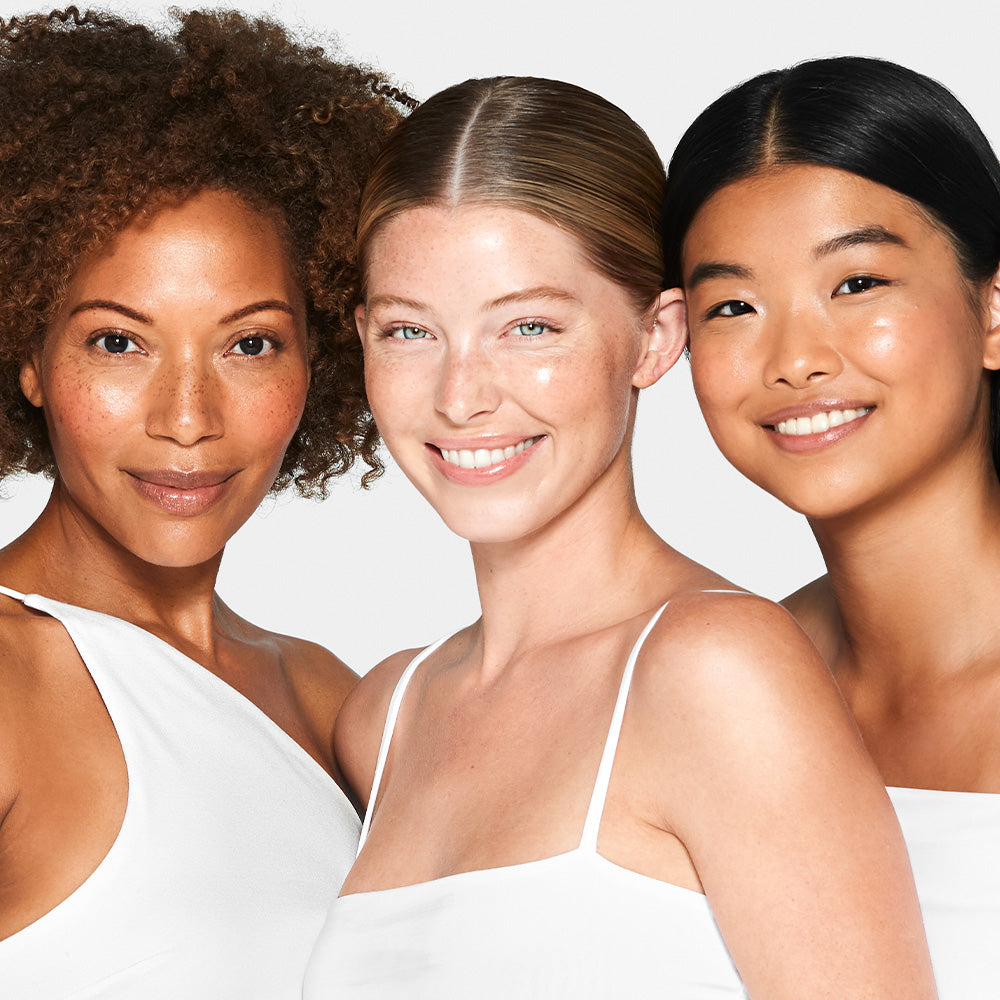
Choosing the best blush for your complexion can get overwhelming. "Depending on whether you're looking for a cream blush or powder, a more natural flush or brighter pop, it’s always best to start by choosing a blush based on your undertone and complexion shade,” explains Janeena. “I find for fairer skin with cooler undertones, a soft blue-pink shade will give a natural flushed look to the skin, while a warm undertone can go with soft peachy-pinks or even corals, giving the skin warmth and a more lit from within appearance. For deeper complexions bright and bold colors like hot pink, orange, deep currant, bronze, and golds will enhance the skin giving it depth as well as a natural highlight."
If your skin tends to flush easily naturally, try a bronzer in replacement of blush, following the similar placement guidance. That will give you a sun-kissed glow instead of the blush.
“And, blush shades that have a mix of both cool and warm undertones such as a coral pink with a touch of gold are universally flattering.”

Tips To Apply Blush
Using the right brush is vital in ensuring a seamless sweep of flush to your cheeks. “I love Glo's Contour/Highlighter brush for powder blushes and bronzers as it’s dual-ended to give you a range of effects. Its tighter bristles allow for just the right amount of powder to load easily onto the brush without overloading, and helps create a precise and controlled application.”
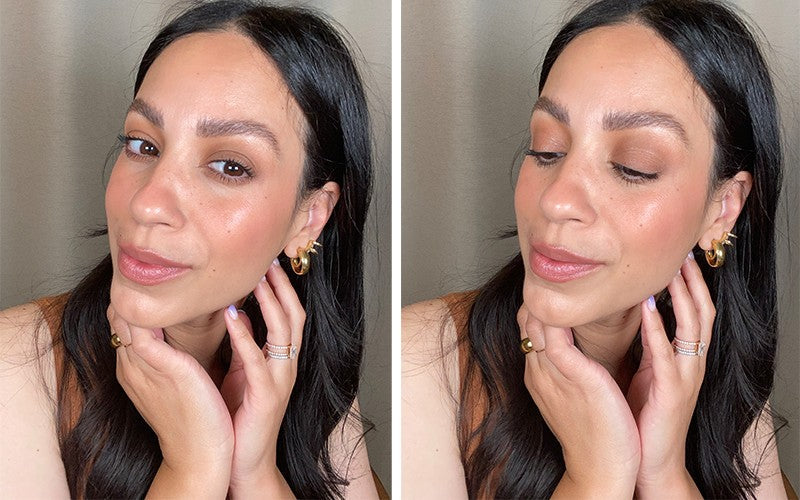
Generally, blush placed along the center of the cheekbone up towards the temple creates a youthful lifting effect. To find the apples of your cheeks, measure down from the center of the iris to the cheek. The apple falls in line with the iris. Blush should be most concentrated on the apples and gradually fade upwards.
- For youthful and full-looking cheeks, apply blush to apples then blend slightly under eye area to create a rounded effect.
- For a sculpted lift, apply blush onto outer, upper cheekbone and blend in a lifted motion towards temples.
- For a sun-kissed effect, bring blush across bridge of nose and onto apples of cheeks.
- For a draped effect, connect your blush to the tail-end of eyeshadow towards outer portion of eye and blend through top of cheekbones, temples, and up over brow arch so all the color connects.
"Blend, blend, and blend some more to make sure your look feels cohesive and soft," adds Janeena. "You can also use your favorite lip crayon or lipstick on cheeks too to create a modern monochrome look."
How To Apply Blush By Face Shape
Unless you're really into the '80s (and that's OK if you are!), blush ideally is meant to look natural and add accent and definition to your face. That means considering your bone structure will be key when you’re thinking of your blush placement.
Oval Faces
This is a longer face shape with high cheekbones. To balance out your face, try adding the blush just above and along your cheekbones, rather than in the hollow beneath it as this will help give the effect of raised cheekbones, especially when you add a highlighter too.
Heart-Shaped Faces
This shape is characterized by a longer shape with prominent cheekbones and a narrow chin. Apply blush in a “c” shape, to soften the edges. Start with a light dusting at the top of your temple then build intensity down the cheekbone. Layer on more product on the cheekbone for your desired color intensity. And, don’t forget to blend so it looks and feels soft and natural.
Square Faces
This shape has straighter sides and a flat jawline. The cheekbones may be the same width as your chin, so to help define them, sweep your blush along all of the cheekbone, and keep following through from the brow corner to the hairline in a more subtle application. You could even dust a little along the sides of your nose too for definition. This will soften the edges of your face for a more lifted effect.
Round Faces
This is when your cheeks are your fullest part. For round faces blush placement is about creating definition so smile, then add blush onto the apples of your cheeks. Then sweep color up towards the temple gently and add a touch of blush to the chin and blend it well.
Oblong Faces
This face shape is when your forehead, cheeks, and jawline are the same width. Apply blush on the apple of your cheeks, blending towards the temple. Add a pop of blush on the side of your brows to balance. This will help shorten your features.
However you choose to apply your blush, whether you’re into a more natural flush or all-out color pop, play around with textures, shades, and finishes to find your perfect effect. And, if you’re not sure whether you should be trying cream or powder blush, our guide will help.
